
After installing AWPCP, you will see a Classifieds Admin section of your WordPress Admin panel (usually about midway down the side menu) that looks something like this (you may be missing some of the fly-out menus if you haven’t purchased some premium modules):
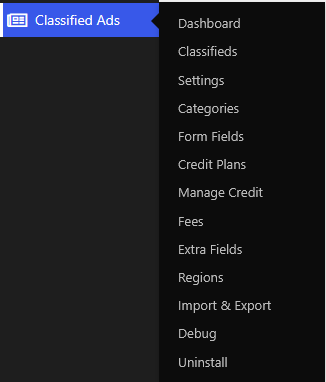
The very first and most important thing you need to do after installation is to click on “Settings”. This will take you to the Classified Pages section of AWPCP’s administration.
You should change the name of these pages as you wish them to appear on your site and then click “Save Settings”. That will create the basic structure used by AWPCP and allow you to see it on the front end of your website. You can always go back and reset these names any time you like. But in order to see AWPCP working on the user-facing side of your website, you must save the page names at least ONCE.
